Showing posts with label texturing. Show all posts

Friday, July 14, 2023

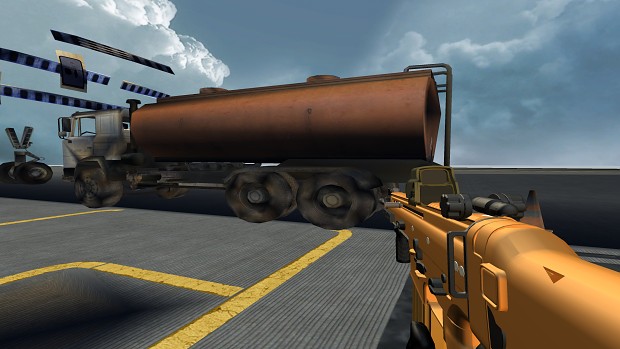
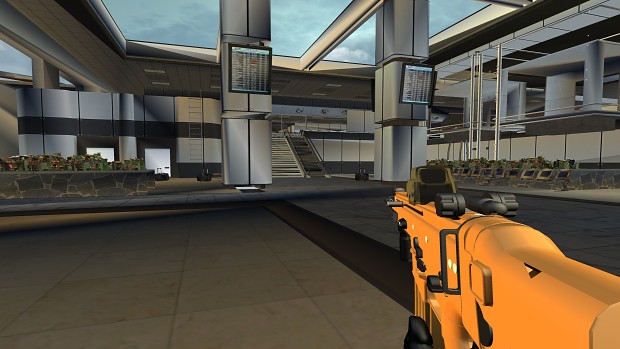
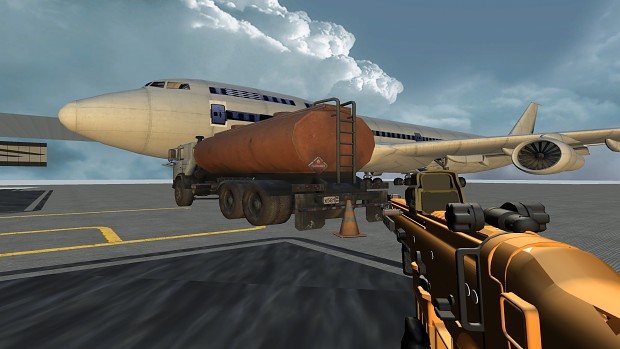
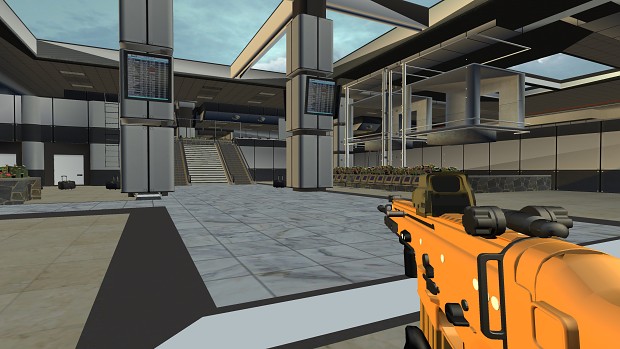
88.) Terminal Map Remake Early Prototype


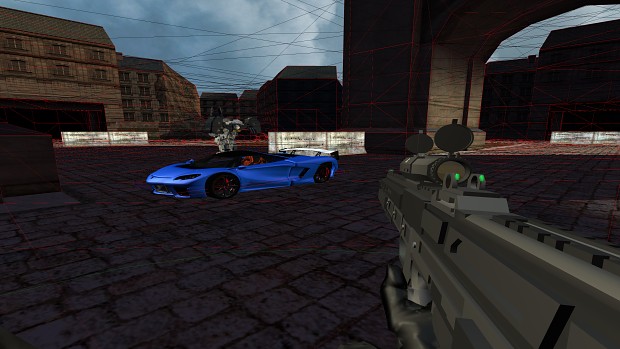
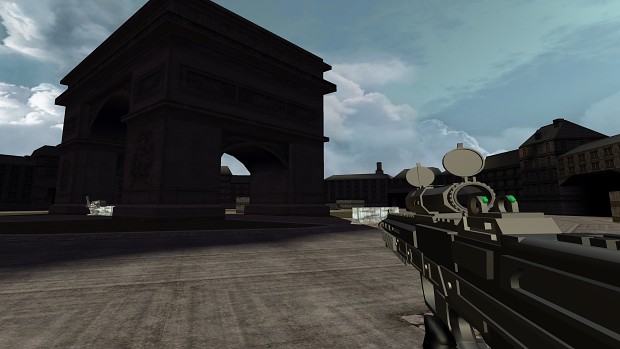
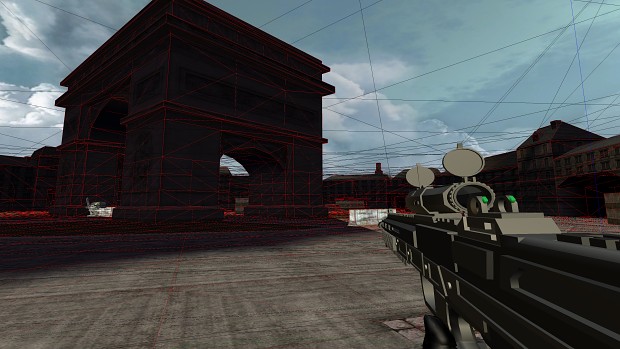
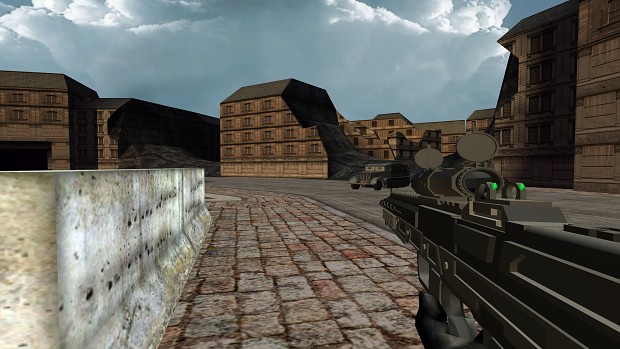
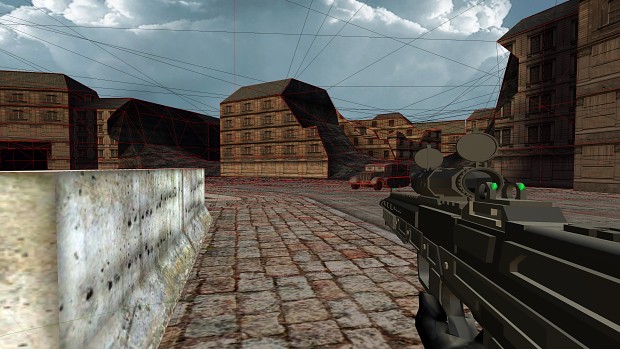
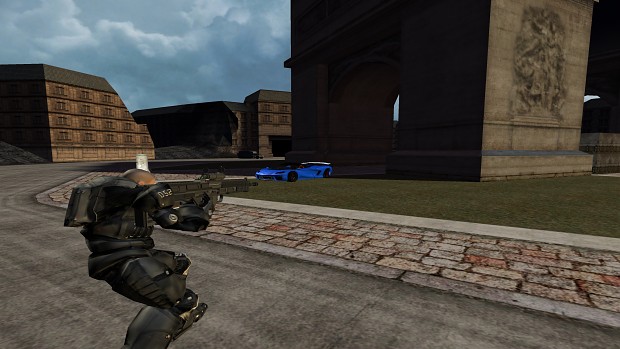
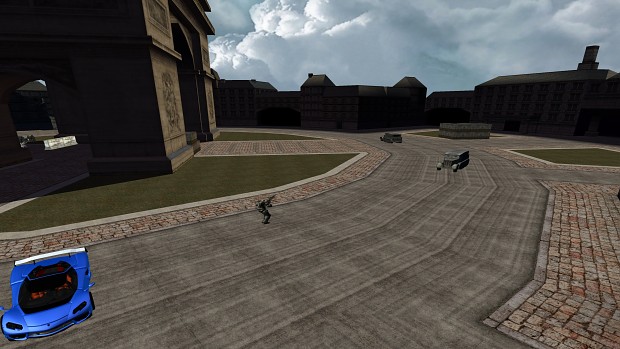
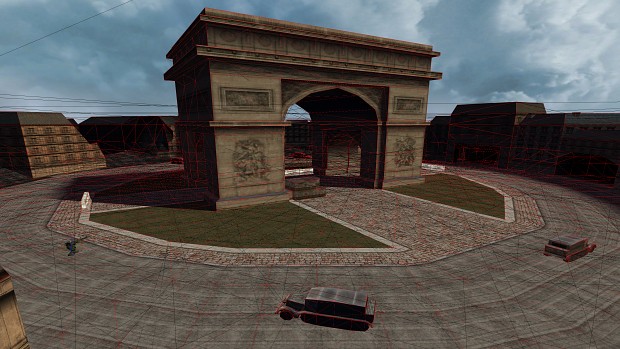
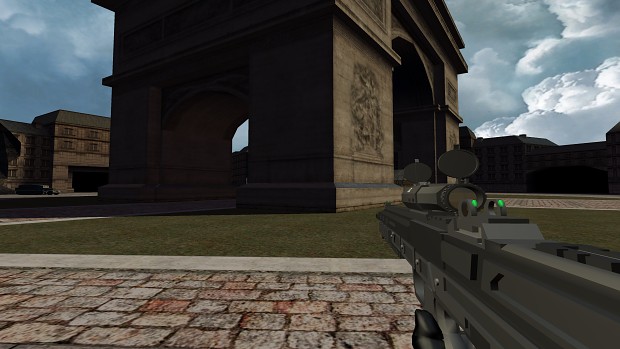
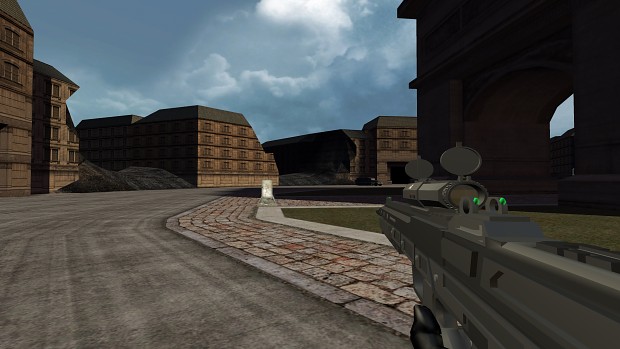
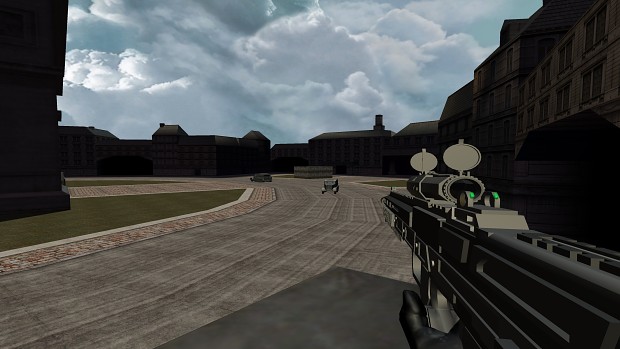
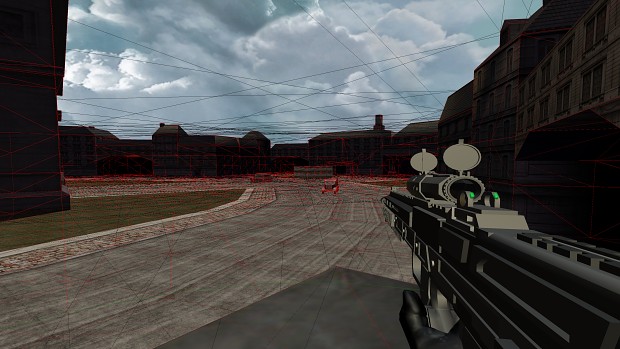
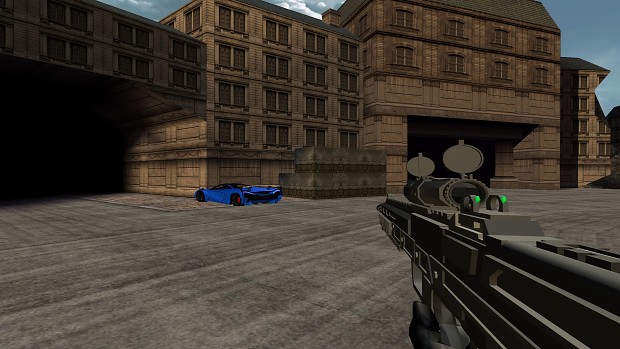
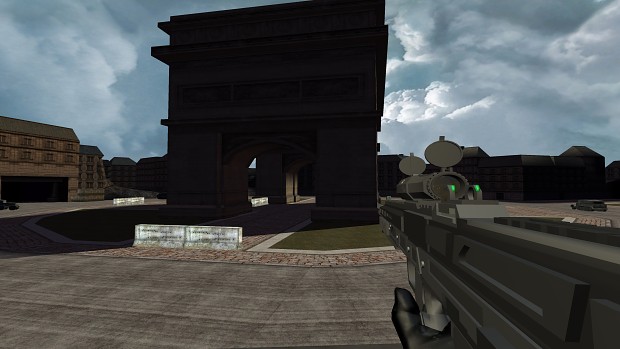
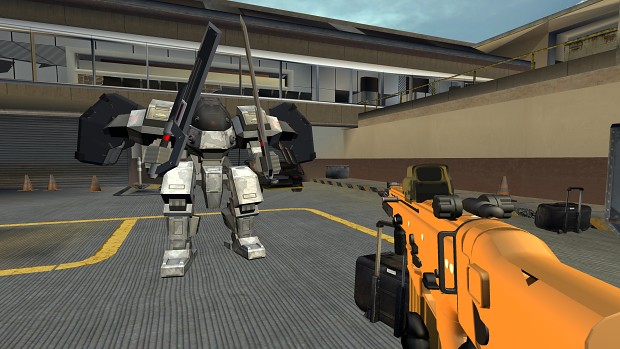
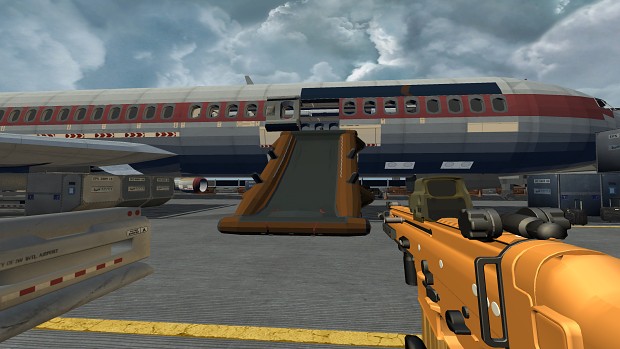
     Today, we embark on an exciting journey to recreate one of the most iconic multiplayer maps in gaming history: Terminal from Call of Duty: Modern Warfare 2. My goal is to rebuild the map from scratch in the Cyclone Game Engine using the XNA framework and MonoGame, alongside a couple of powerful tools that will enhance our development process. I started the day by studying the original map's layout, textures, and gameplay mechanics. Immersing myself in the details of Terminal, I carefully analyzed the paths, chokepoints, and strategic areas that made the map so memorable. Armed with this knowledge, I brainstormed ideas on how to translate those elements into the engine, ensuring I captured the essence of the original map while also infusing some of my own creative touches.

Terminal Remake Devlog v1


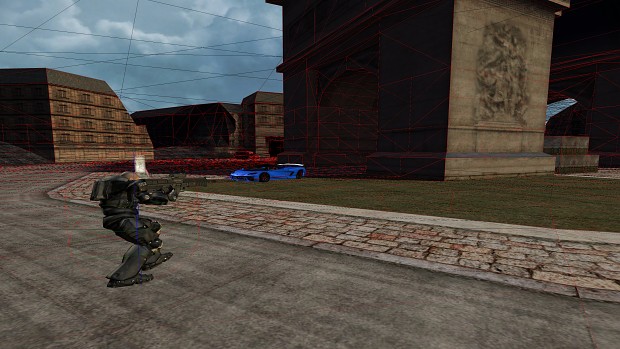
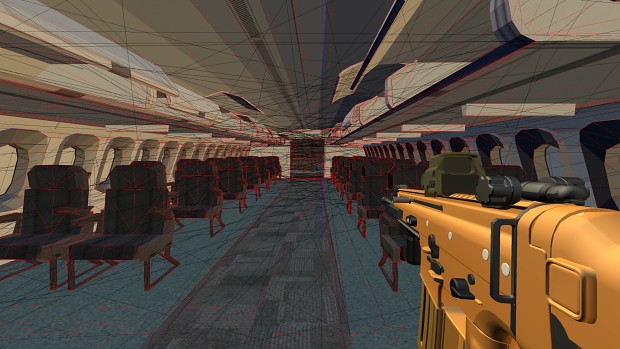
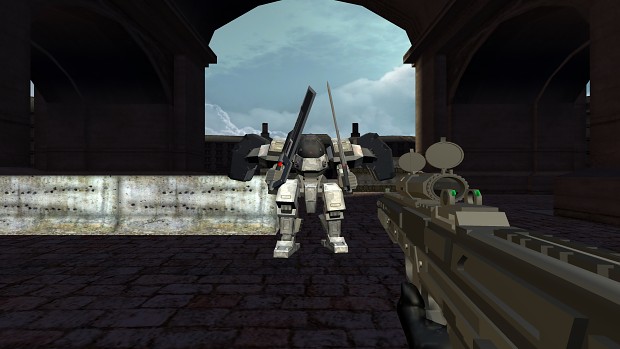
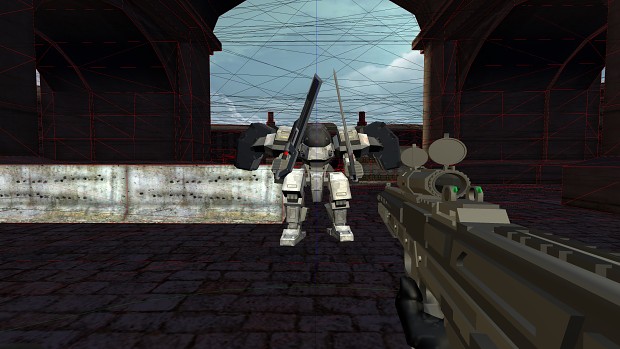
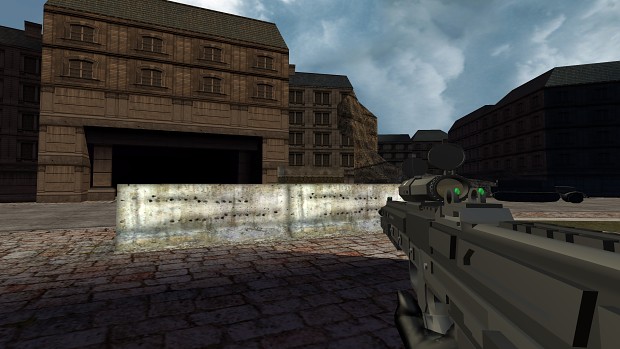
     To bring life to our character, I turned to Mixamo, a fantastic tool for character animation. With Mixamo, I was able to access a vast library of pre-made character animations and easily apply them to my in-game model. This saved me a tremendous amount of time and effort, allowing me to focus more on other aspects of the game development process. Jiggle Library-X (JigLibX) is utilized for the physics. Models from the scene are being extracted and and tested for collision.
Terminal Map Remake Screenshots V2 

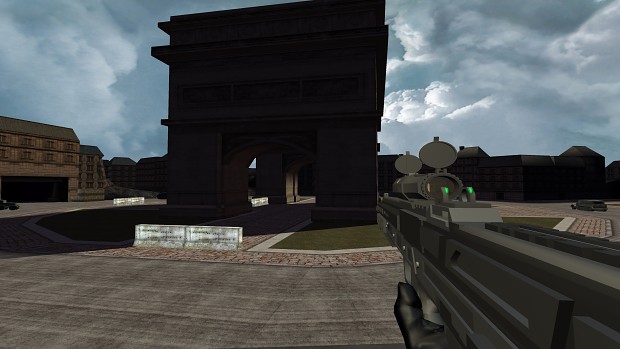
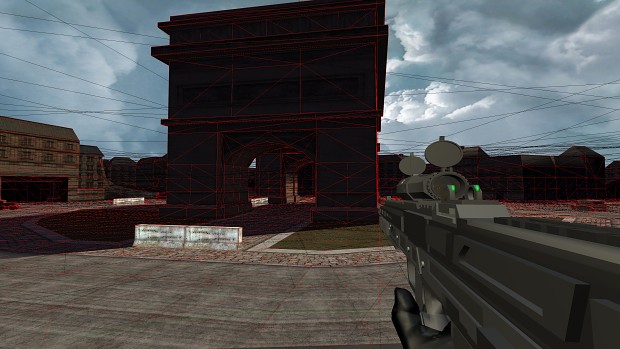
     One of the biggest challenges is performance for the physics on more detailed models like in this picture above which also resulted in slowing the game's frame-rate. To fix this, I will most likely create two models; a low poly and high poly version. Low-poly models will be rendered unseen and most likely used for the models' collision physics to help with performance. The high-poly models with more detailed meshes will be visible for more pleasing visual aesthetics.In addition to leveraging Mixamo for character animation and Jiggle Library-X for physics, I also incorporated another powerful tool into our development arsenal: the XNAnimation library originally created by Bruno Evangelista. The XNAnimation library provided us with an extensive set of tools and functionalities to handle character animation within the XNA framework. This library enabled me to import and manage complex skeletal animations seamlessly. With XNAnimation, I could rig and animate our character model, ensuring fluid and realistic movements.

     One of the standout features of the XNAnimation library was its support for skeletal animation blending. This allowed me to smoothly transition between different animations, such as running, jumping, and shooting, providing a seamless and immersive experience for the players. However, animation blending is not presented in this following video. I was able to define animation states, set up animation trees, and control the blending parameters to achieve the desired results. Furthermore, the XNAnimation library offered a range of utilities for retargeting animations, which proved invaluable during my development process. I was able to transfer animations from one character model to another with varying skeletal structures, saving significant time and effort in adapting animations to different characters or variations within our game.


Bone Rotation Problem
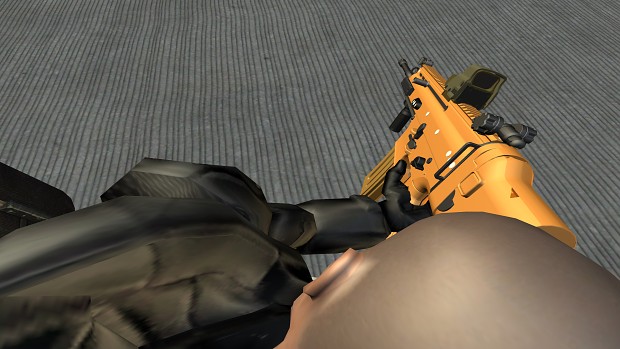
     During the development process, I encountered various challenges related to character animation and camera interactions. While Mixamo proved to be a reliable tool for basic animations like walking and running, we realized that we needed additional techniques to achieve more complex actions and enhance the overall player experience. For instance, as you can see in this video, we need to address the issue of the bone moving with the camera rotation, particularly when looking up and down or aiming at a target from different positions.
Terminal Map Remake Screenshots V2 

     To fix this, I will turn to procedural animation and inverse kinematics. These techniques will allow us to dynamically adjust the character's animations and limb positions based on the player's input or environmental factors.  To further enhance the character's interaction with the environment, I most likely plan to incorporate inverse kinematics into my development process. Inverse kinematics will help to prevent the player from seeing the character's body when the bones of the model rotates in first-person perspective when looking up and down. 

     By implementing Inverse kinematics, this will enable us to precisely control the placement and movement of the character's limbs, making actions such as aiming at targets or reaching for objects appear more natural and lifelike. Whether it’s reaching for a weapon or interacting with an in-game object, an IK system in XNAnimation will help me to achieve a higher level of realism and interactivity in our games. Inverse kinematics allows us to calculate the positions and rotations of the character's joints dynamically, taking into account factors like the player's input or the position of the target in the game world. 

     To implement procedural animation, I leveraged the power of Maya, a widely-used 3D modeling and animation software. Using Maya, I exported the animated model from Mixamo and then customized the animation rigs to accommodate the specific camera interactions I desired. By fine-tuning the rigging and adjusting bone weights, this will ensure that the character's movements responds smoothly and realistically to the player's camera rotations. 


Problem: Black Spots Appearing on Mesh Faces
Terminal Remake Devlog v1
Before: Dark Spots Problem Pic-1


Terminal Remake Devlog v1
Darks Spots Problem Pic-2


Terminal Remake Devlog v1
Dark Spots Problem Pic-3

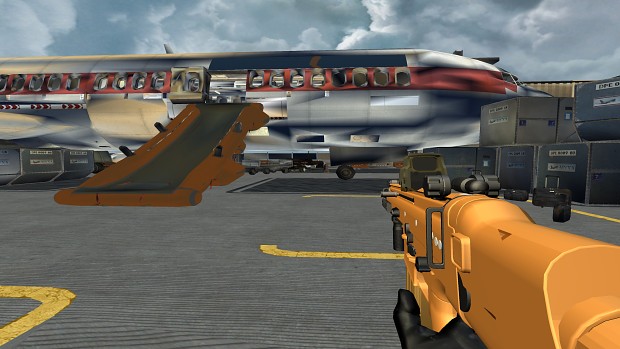
     Many of the models were created using SketchUp. When imported into Maya as a .fbx file, I noticed many dark spots appearing on the faces for some reason on the models. First I tried clearing the mesh and nothing changed. Changing the texture didn't solve the problem either. Then I tried deleting a face and appending a new face at the same place which worked and made the black spots disappear. However, this was time consuming to fix all the faces by hand especially on very detailed models. The best solution was to unlock the normals of the model which removed all of the dark spots.


Solution: Unlock Normals
Terminal Map Remake Progress Screenshots V2
After: Dark Spots Successfully Removed


Terminal Map Remake Progress Screenshots V2
Dark Spots Removed Pic-2


Terminal Map Remake Progress Screenshots V2
Dark Spots Removed Pic-3


     In Autodesk Maya 2015, click on Normals at the top and select Unlock Normals. This helped to remove the dark spots on the models and made the textures far clearer and improved their visibility. To verify that the normals are unlocked:

1.) Go to Display
2.) Select Polygons
3.) Then select Vertex Normals.

Normals should show a green line when unlocked and yellow when locked. Leave them unlocked. You can see the results of the removed dark spots in the video below. Some of the textures still pop-in and out so they will have to be resized. 


     Please note that the gameplay footage showcased in the videos above are very early stages of development and should not be considered representative of the final product. We want to emphasize that significant progress and improvements are yet to come, as we continue to refine and polish the game. During this early phase, our main focus was on establishing the core mechanics and functionality of the game. The level design, character animations, textures, and overall visual quality are all subject to change and refinement in the upcoming stages of development. We understand that the current gameplay footage may lack certain features, exhibit placeholder assets, or have performance issues that will be addressed in due course.

     It is crucial to keep in mind that this is just a glimpse into our development process and a work in progress. We remain committed to delivering a high-quality and enjoyable gaming experience. As we progress further, we will be implementing additional features, enhancing the visuals, optimizing performance, and addressing any issues that may arise along the way. We appreciate your support and understanding as we continue to work tirelessly to bring you the best possible version of our game. Stay tuned for future updates and be assured that the final product will be a significant improvement over this early footage.

Thursday, March 23, 2023

87.) Cyclone Game Engine Character Physics Controller Part 2


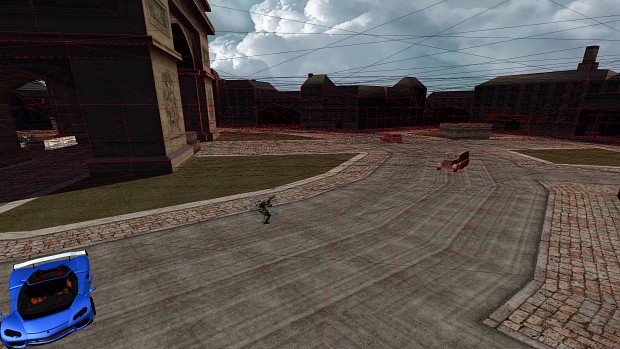
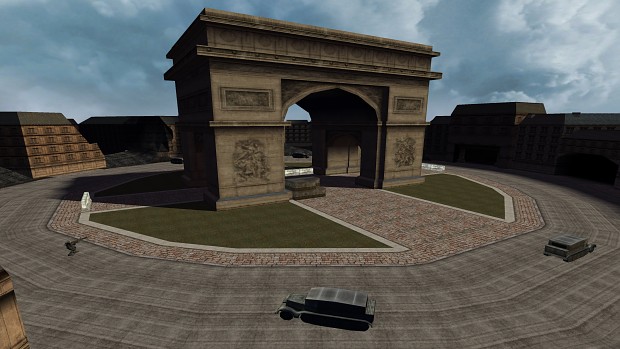
     Because of limited time, the design and creation of 3D models was placed on hold to focus on getting the physics collision working with low-poly models properly. I went back and utilized the Stage 1 scene from the Robot Game Starter Kit for testing purposes. It not only provided me with rapid results and made me very happy, but gave me room to further expand and modify the scene in the future for improving the graphics. I plan to add particle effects, shaders and more models.


Cyclone Game Engine Character Controller Pics Part-2

     I used JigLibX as the physics engine which is one of the favored open-source physics engines for physics and collision detection. Using JigLibX was a one of the best decisions about this project because it allowed me to focus more on gameplay, instead of spending time on creating my own physics library. JigLibX is a physics engine written in C# using Microsoft's XNA framework. It is based off the physics engine JigLib and I am currently porting it to MonoGame and further expanding it. Having a collision system and a rigid body physics engine makes JigLibX one of the favored free open-source physics engines designed for use with XNA.


Cyclone Game Engine Character Controller Pics Part-2

     With my Ai obstacle-avoidance and steering behaviors sample working recently, I might expand this map to create an arcade style wave based survival game prototype starting out. The player will fight off hordes of various enemies and creatures to rack up a large kill count and points. I don't want to get too far ahead of myself but I think this prototype will hold a lot of potential. 


Cyclone Game Engine Character Controller Pics Part-2

     I plan on implementing Parallax Occlusion Mapping to make the textures pop out and add depth to the textures so that they don't appear too flat.  


Cyclone Game Engine Character Controller Pics Part-2


Cyclone Game Engine Character Controller Pics Part-2


Cyclone Game Engine Character Controller Pics Part-2


Cyclone Game Engine Character Controller Pics Part-2


Cyclone Game Engine Character Controller Pics Part-2


Cyclone Game Engine Character Controller Pics Part-2

     I might implement Deferred Rendering which will allow the game engine to render a huge number of dynamic lights very efficiently.


Cyclone Game Engine Character Controller Pics Part-2


Cyclone Game Engine Character Controller Pics Part-2


Cyclone Game Engine Character Controller Pics Part-2


Cyclone Game Engine Character Controller Pics Part-2


Cyclone Game Engine Character Controller Pics Part-2


Cyclone Game Engine Character Controller Pics Part-2


Cyclone Game Engine Character Controller Pics Part-2


Cyclone Game Engine Character Controller Pics Part-2

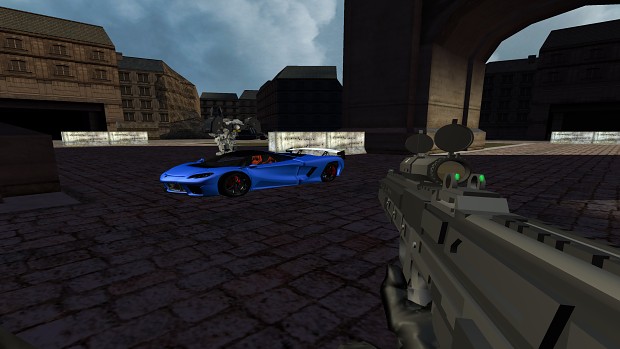
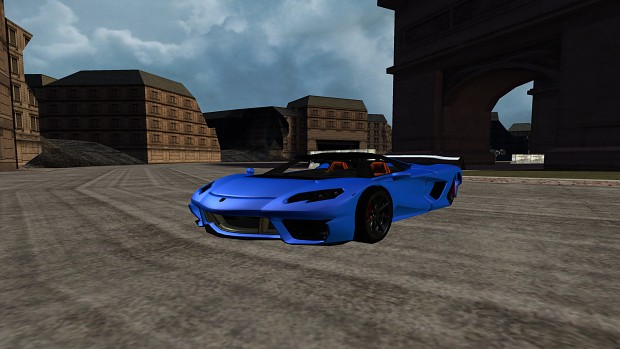
     I plan to add a real-time reflection shader to the car's vehicle body. 


Cyclone Game Engine Character Controller Pics Part-2

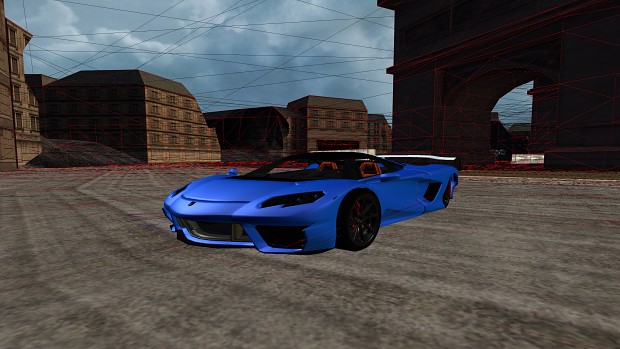
     Each game object is represented in the physics engine by a simplified mesh called a collision skin. The collision skins are often rough estimations of the geometry of the game object in order to make simulation faster. The chassis if this car object for example is actually composed of two boxes, one large for the bottom of the model and a smaller box for the top. Rigid body physics is the part of physics that deals with the motion of rigid bodies. Rigid body simulations are fast and easy to calculate relative to other methods of simulating physics. 

     This makes it very useful in game development where performance plays an important role when trying to create a realistic playing experience. Rigid body physics can simulate movement and rotation in three dimensions and allows a body to have properties like mass, friction, torque, velocity etc. In a rigid body physics simulation, all objects are non-deformable. This means that an object can never be squeezed or bent regardless of what forces are applied to them.


Cyclone Game Engine Character Controller Pics Part-2

     The grass area will be separated into its own models and I will add plants and vegetation to it. 


Cyclone Game Engine Character Controller Pics Part-2


Cyclone Game Engine Character Controller Pics Part-2


Cyclone Game Engine Character Controller Pics Part-2


Cyclone Game Engine Character Controller Pics Part-2


Cyclone Game Engine Character Controller Pics Part-2


Cyclone Game Engine Character Controller Pics Part-2


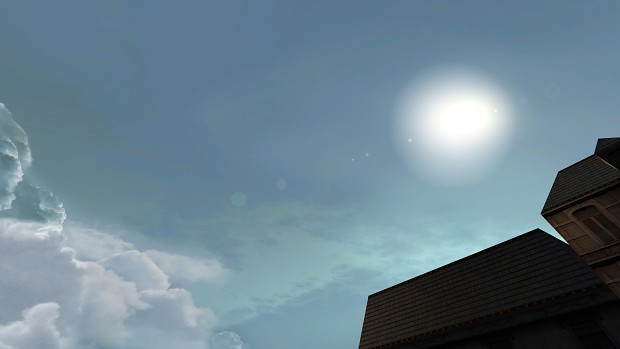
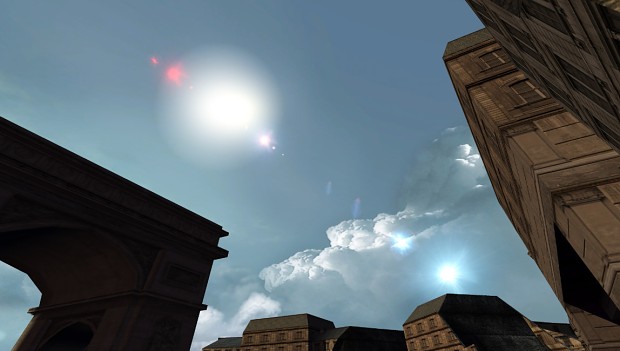
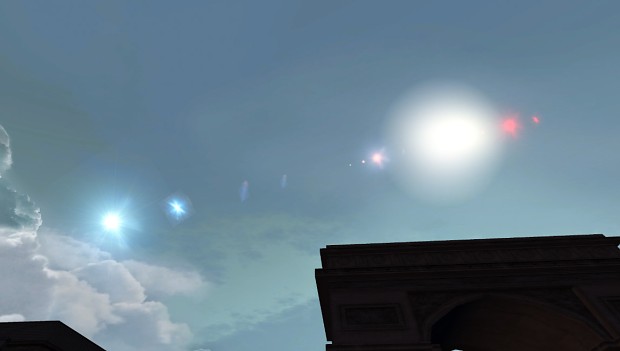
Lens Flare Updated Effect


Lens Flare Updated Effect


Lens Flare Updated Effect


Cyclone Game Engine Character Controller Pics Part-2


Cyclone Game Engine Character Controller Pics Part-2


Cyclone Game Engine Character Controller Pics Part-2


Cyclone Game Engine Character Controller Pics Part-2


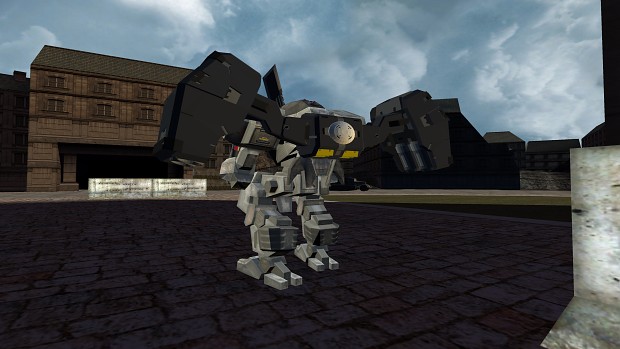
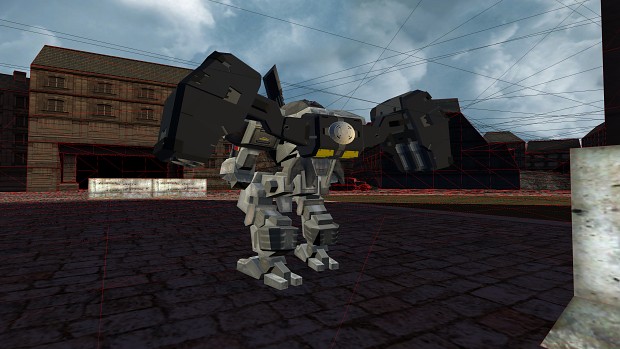
More Robot Mechs Coming!


Friday, July 15, 2022

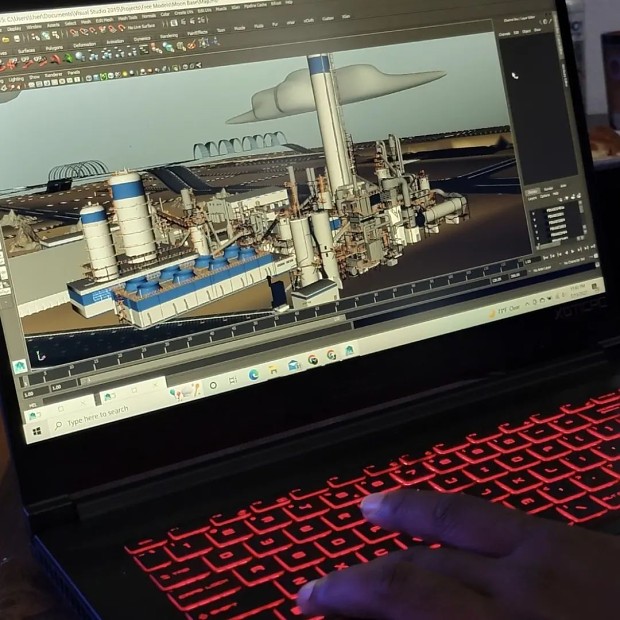
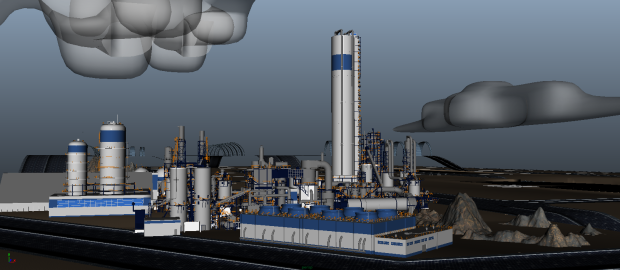
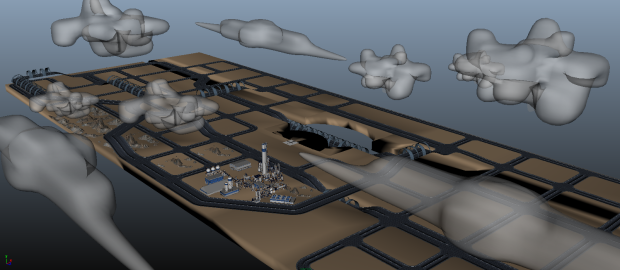
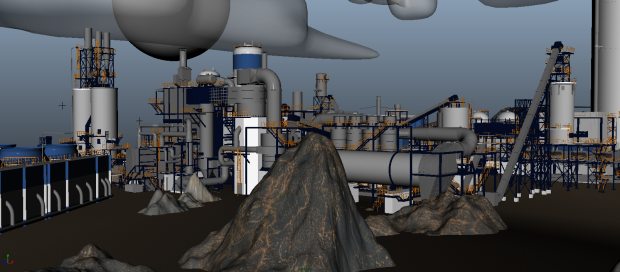
80.) 3D Game Map In Development of a Futuristic Base Level

Map

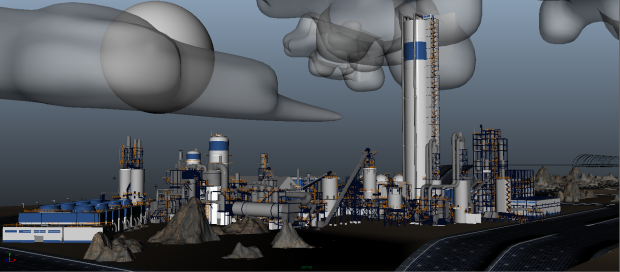
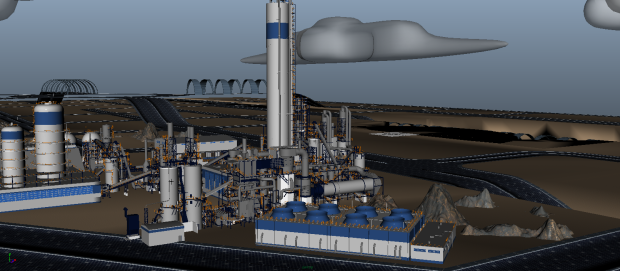
     Set atop a moon in a somewhat distant future, the map is an abandoned mining research facility once controlled by a fictional military corporation broken up into several areas. Space Mining has become a lucrative business. There are rumors and speculations that the mining facility was constructed around an alien crash site 


Map


Map

     The base contains solar-powered roads. They are roads “paved” with extremely strong solar panels that are covered in glass that can withstand environmental stressors and the weight of vehicles driving over them on a consistent basis. The roads help to both store and produce electricity wherever needed. 


Map


Map
Top View


Map


Sunday, September 12, 2021

76.) Agama Materials


       Looking for an alternative to Substance Painter? Then take a look at Agama Materials! This 3D texturing painting application is a completely free tool for creating procedural PBR textures. Another application worth checking out is Material Maker


More Links


Thursday, May 20, 2021

75.) Material Maker


     Material Maker is a procedural materials authoring and 3D model painting tool, based on the Godot Engine. Materials and brushes are defined as graphs where nodes create or transform textures, and can be exported for the Godot, Unity and Unreal game engines.
 
 
 Downloads


Saturday, May 1, 2021

74.) Quixel Mixer 2021 just released!!


     Back in 2019, Epic Games acquired Quixel Mixer. They just released version 2021 and this amazing texturing tool comes with a host of features. Along with its materials, Quixel Mixer is actually free for commercial use. This is a huge game changer for freeware software to come out and actually push innovation. With UDIM support, Mixer is a potential great alternative to Substance Painter. One particular feature I would like to see integrate into Quixel Mizer is the symmetry tool that Substance Painter provides. Another feature I would like to see added to Quixel Mixer is baking. Substance Painter provides baking which allows you to transfer mesh based information into textures. This information is read by shaders or substance filters to perform advanced effects. Smart Materials and Smart Mask rely on them. One nice thing Quixel Mixer has is the megascan library and the ability to customize megascans objects. Its decal system is superior and more intuitive than Substance Painter in my own opinion. Quixel Mixer also provides access to a lot of quality 3D content.


Download Quixel Mixer 2021 here: https://quixel.com/products/mixer


Saturday, March 30, 2019

64.) Quixel Mixer


       Hurry now and check out this amazing temporarily free texturing program called Quixel Mixer for its duration of the beta! This program will be available as a perpetual licence for $99 on final release. In my opinion, this is a fair price as a one time purchase, especially if they keep iterating and making additions over time. I first came across this program from GameFromScratch.com after learning about Adobe's acquisition of Allegorithmic. Quixel Mixel is basically a PBR layer based texture creation tool which also allows you to import your own. It combines the power of scan-based mixing, sculpting and painting, with easy-to-use yet powerful procedural layers, all in one app. Create completely unique materials your way — photorealistic or stylized, with infinite variation. It nearly went under since Adobe went with the rental model and Allegorithmic eliminating Spiral Graphics by releasing MapZone. Check out this introduction video tutorial to Quixel Mixer below. Also, Photorealism is now possible on today's hardware. To learn more, check out Rebirth; a stunning real-time cinematic produced by Quixel.


Links 


Wednesday, March 20, 2019

63.) Shadermap 4.2


       I am all about awesome free fantastic tools. I'm a bit late posting this but I thought I would go ahead and share Shadermap 4.2. This tool is an image texture and map generator for 3D artists. The installation comes provided with a number of default map plugins including: displacement from diffuse, albedo from diffuse, normal from displacement, ambient occlusion from 3D model, displacement from 3D model, normal from normal, and more. The software is free for non-commercial use, but the output is watermarked. You can purchase Shadermap 4.2 with all of its advanced features, including Lua scripting and the new PBR materials and Light Scan node for $49. 


Links 


Tuesday, December 11, 2018

59.) Welcome to Materialize


       Check out Materialize created by Bounding Box Software! This is an awesome free tool which enables you to quickly create several different types of material pas from a single image. You can create an entire material from either a single image or import textures you have already and generate the textures you desire. Materialize was used in the the popular Uncharted 1 and 2 games to help generate metallic, smoothness, and occlusion textures. You can create Height, Normal, AO, Edge, Metalness and Smoothness maps in just seconds with an interactive preview, all from a single texture source. 

Open Source
Materialize is open source under the GNU GPL v3. The Unity project source code is hosted on github:

More Links 


Friday, June 3, 2016

39. Engine Update 5 Teaser


       This is a brief video teaser sneak peek of my next game engine update. Everything is still a work-in-progress. Since rigged and non-rigged models can be attached to the character now, I am working on character customization. Soon, players will be able to customize their armor. They will be able to swap out head-wear such as hats, helmets and mask. Soon they will also be able to swap between chest pieces and knee guards. This might not be fully shown in the next video update but I have this working for the most part. As players progress through the game, the upgrades to their suit will greatly improve their gameplay experience. Lately, I have been building up content for creating the models and assets that will go into the game world. I am improving artificial intelligence at the moment. This is just a teaser, so it will be a while before my next engine video update. I have been focusing on my 2D game and my independent studies to further educate myself and make far more progress. I am taking some time off and working on the gameplay! So excited. Below are some more screenshots of some fun I had with armor customization.


Saturday, May 14, 2016

36. XNA 4.0 Parallax Occlusion Mapping


       Recently, I came across Electronic Meteor's blog post which updated the Parallax Occlusion Mapping Sample to XNA 4.0. In short, parallax mapping is a way to make textures pop out. It's a very efficient way to add depth to a texture, so there is no tessellation here. Parallax Occlusion Mapping was utilized in the hit first-person shooter game called Crysis. This sample also demonstrates another technique called Normal Mapping. In this sample you can switch between the techniques to see each of their effects. The sample was originally created by Alex Alvarex Urban and updated to XNA 3.1 by Canton Javier Ferrero. Thanks to Chris, the sample was updated to XNA 4.0, however he ran into some problems getting the particle system to work. In time, I was able to fix it. I have made the source code available at the following link below for download. If you have found this sample helpful or run into any problems, please comment below.

Also, on a side note, make sure under the File Properties for the smoke.png image, click the drop-down arrow under Content Processor and set the following values like so if they aren't already:

Color Key Enabled = True
Generate Mipmaps = True
Premultiplay Alpha = False
Resize to Power of Two = False
Texture Format = DxtCompressed


Download


Tuesday, November 10, 2015

25. XNA & MonoGame Tiff Importer

       By default, the XNA Framework does not natively support tiff based image files. To use the native content pipeline importers, you will need to use PNG, JPG, DDS, TGA, or BMP. The following link shows you how to create a tiff importer.

Make sure you add the System.Drawing Reference to the Importer.

Here is the Source Code:

using System;
using System.Collections.Generic;
using System.Drawing;

using System.Linq;
using Microsoft.Xna.Framework;
using Microsoft.Xna.Framework.Graphics;
using Microsoft.Xna.Framework.Content.Pipeline;
using Microsoft.Xna.Framework.Content.Pipeline.Graphics;
using Microsoft.Xna.Framework.Content.Pipeline.Processors;

// TODO: replace these with the processor input and output types.
using TInput = System.String;
using TOutput = System.String;

namespace TiffLib
{
    /// <summary>
    /// This class will be instantiated by the XNA Framework Content Pipeline
    /// to apply custom processing to content data, converting an object of
    /// type TInput to TOutput. The input and output types may be the same if
    /// the processor wishes to alter data without changing its type.
    ///
    /// This should be part of a Content Pipeline Extension Library project.
    ///
    /// TODO: change the ContentProcessor attribute to specify the correct
    /// display name for this processor.
    /// </summary>
    [ContentImporter(".tif", ".tiff", DisplayName = "TIFF Importer", DefaultProcessor = "TextureProcessor")]
    public class TiffImporter : ContentImporter<Texture2DContent>
    {
        public override Texture2DContent Import(string filename, ContentImporterContext context)
        {
            Bitmap bitmap = Image.FromFile(filename) as Bitmap;
            var bitmapContent = new PixelBitmapContent<Microsoft.Xna.Framework.Color>(bitmap.Width, bitmap.Height);

            for (int i = 0; i < bitmap.Width; i++)
            {
                for (int j = 0; j < bitmap.Height; j++)
                {
                    System.Drawing.Color from = bitmap.GetPixel(i, j);
                    Microsoft.Xna.Framework.Color to = new Microsoft.Xna.Framework.Color(from.R, from.G, from.B, from.A);
                    bitmapContent.SetPixel(i, j, to);
                }
            }

            return new Texture2DContent()
            {
                Mipmaps = new MipmapChain(bitmapContent)
            };
        }
    }

}

Friday, February 8, 2013

8. How Textures Look As of Now

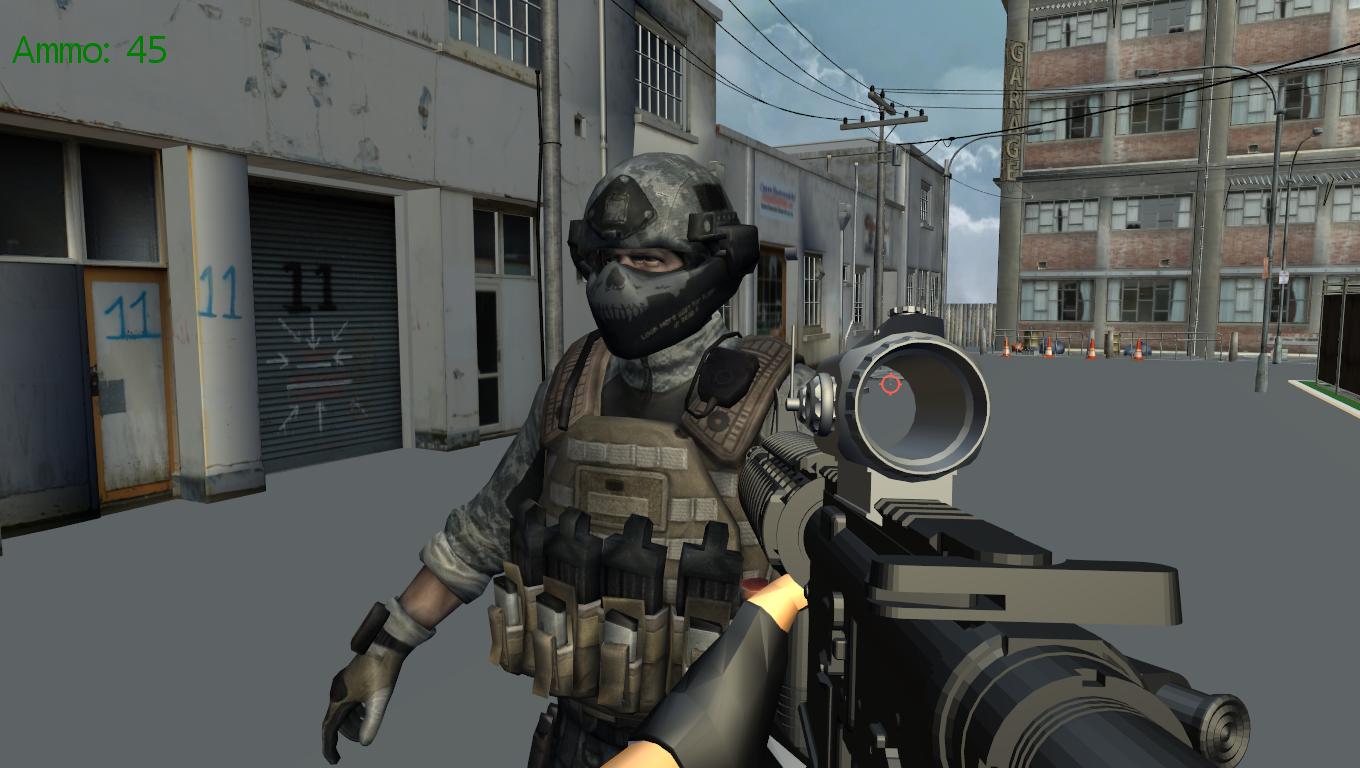
       Welcome back gamers to this new update on the Cyclone Game Engine. I am attempting to create a first person shooter using my game engine, that is built upon the XNA Framework. The following screenshots do not represent final in-game footage! They are just for demonstration purposes to show how a slightly finished map would look as of right now in a game created using the Cyclone Game Engine. Textures helps add realism to the game world. I needed to use as much real world references as possible, so to help save me time finding texture images, I came across a website called CG Textures. The fully textured scene is from a tutorial I found online utilizing 3D Studio Max to help me save time and was used in a ray-tracing demonstration. I have not applied any normal maps yet. With that said, once I finish programming the normal mapping processor and some other things, the textures will appear less flat and more 3D. Click on the following images for better quality. 


M4A1 with a custom acog scope


       At this stage, shadows have not been implemented just yet. I recently got a few sample programs working with shadows implemented. I am trying to improve them through filtering techniques. The edges of the shadows are too "blocky" as of now. So I am working on softening the shadows to reduce their aliased appearance. 


Zoom / Aim-Down-Sights


       For now, I created a "cheap" zooming effect by changing the Field-Of-View member of the camera's view frustum. This is usually set to around 45-60 degrees. I played around with this some until I got the effect I wanted.


Aim-Down-Sights is working for the most part but the animation for it needs more work. As of right now, it is a program animation and it gets off-centered while moving. 


       It took me a while to texture and model everything up to this point in the images above. The screenshots above were of models that I created from real world references in Autodesk Maya. As you can see, the images above were not fully textured and modeled. So to help me save time, I found a tutorial online of how to model and texture a scene in 3D Studio Max. After the final stages of texturing was complete, I exported the scene into .fbx models and imported them into Autodesk Maya.


       To save time, the engine for now can essentially use a modeling program as its level editor. The engine tracks where the models are located and positioned in Model Space in an object editor like Autodesk Maya or 3D Studio Max, and displays them in-game exactly how you had them placed in Maya or 3D Studio Max. Just to be clear, the engine does not necessarily create all of this; the artists model and texture everything. The engine simply renders it all in real-time in the game. Later the game engine will make the scene look better because it will handle different lighting and texture mapping techniques. I hope to later add parallax mapping to the bricks and deferred rendering.


       The flat ground model was just a placeholder for the roads. I imported the buildings into the scene to see how they looked in-game. 


Roads Work-In-Progress Pic1


Roads Work-In-Progress Pic 2


The following screenshots below shows the final in-game screenshots. 


       Unfortunately, the gun and hands are not textured yet. I realize this may make the final result look a little less "professional" but this is simply a starting point. 


       Majority of the textures were edited and touched up in Photoshop to help with overall quality. Because the XNA Framwork HiDef Profile only supports images with a DXT Compression of 4, I had to re-scale the images in Illustrator and convert them into a vector so that they would not get pixel-ated. I explain more below.


       I am pushing the engine to run more textures while taking up less memory at the same time. Although this map is small, it has a lot of textures in it. Too many textures as well as draw calls started to slow down the frame rate, making the game run slightly slower. So to help performance, many of the models used the same textures which somewhat helped the game run better. Although the game performance is fine on PC, there are many things hurting performance on Xbox 360 preventing it from running at 60 frames per second. Later, I will work on ways to optimize it so that it runs better on Xbox 360 and reduce my draw calls.


       For now, the fence wires are mostly just textures instead of actual polygons. This is done to help save memory when processing but eventually I will model the fence wire once I am confident the engine is further optimized and its performance it up to par.


       The ground textures are coming along nicely. Again, there are no normal maps yet. Normal mapping is used to add details without using more polygons to the actual 3D model. The normal mapping processor I am working on right now once I get it working will hopefully greatly enhance the details. Right now, the textures appear too flat, but its a good start. Once I get the different mapping systems working, the textures will appear more 3 dimensional and have greater detail than the current textures.


I pulled the gun model back and added an iron sight to it. I am debating on what textures I am going to use for the scar gun model. 


Texture Problem
       One major game error I as well as many other game developers encountered after compiling our 3D models in our XNA game projects is the texture size. When using the HiDef profile, XNA uses DXT4 (DXT compression of powers of 4 for textures. If you are using the Reach profile in XNA, for Windows Phone for example, it uses DXT2 (DXT compression of powers of 2 for textures).

When I added my model to my content and ran the program I get the following error:

Invalid texture. face 0 is sized 522X360 , but textures using DXT compressed formats must be multiples of four


Solution
       The dimensions of my texture image was not multiples of four, which is exactly what it states. I fixed this by simply resizing the texture. A simple but sort of lazy route I took to fix this error was by importing the texture into Adobe Illustrator to convert the file into a vector image. I did this in order to avoid pixelation. Then I re-scaled the width and height of the texture by making sure each side was divisible by four (should be ideally powers of two). The HiDef profile however adds full support for non-power-of-two textures. You want to keep the texture image as close to its original size as possible so that it does not appear too stretched on the 3D model. Also, I recommend using an editor like GIMP to get a clean scale that does not look too weird so to speak. You can learn more about texture compression and why it is important for games here. For the most part, it helps improve memory. This day in age, games are utilizing high-definition texture files which can take up a lot of memory, so compression can come in handy. 


       Just to be reiterate, this is simply a demonstration of what a mostly finished textured map in the Cyclone Game Engine looks like at the moment. This is not an actual game and the screenshots does not represent final in-game footage. There are no special rendering techniques or yet like deferred rendering or special shaders to add more effects. That will come much later. This is simply just a placeholder. Early on, many gamers asked me where were all the textures. Texturing will take place during the final stages of development. Right now I have to work on more important things like physics, artificial intelligence and performance optimization. As of this point forward, I am mostly focusing on those things to help gameplay functionality. I will go back and focus on improving graphics later once those things are more fleshed out. I am not necessarily making a game targeted or tailored towards the Battlefied and Call of Duty crowd. Sorry for the slow progress updates. I haven't had much time to work on this. Thanks for reading and I greatly appreciate your support. Also, if you found this blog post helpful, please comment below.