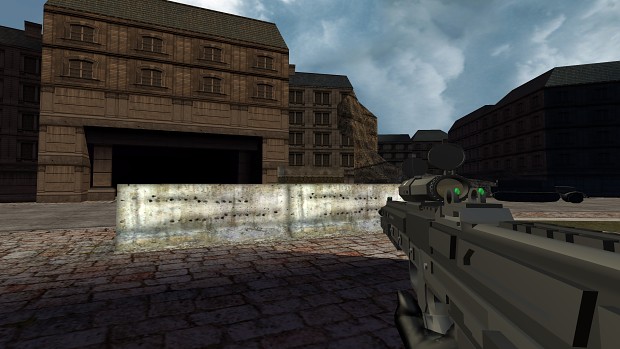
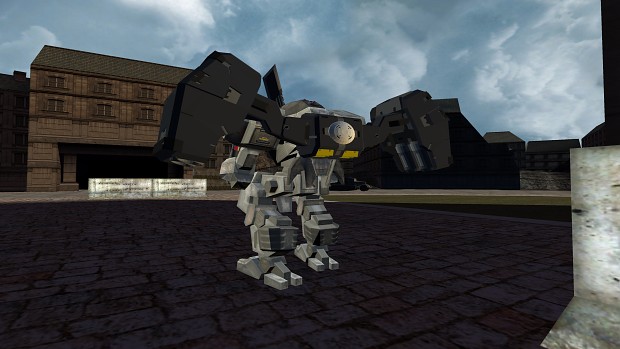
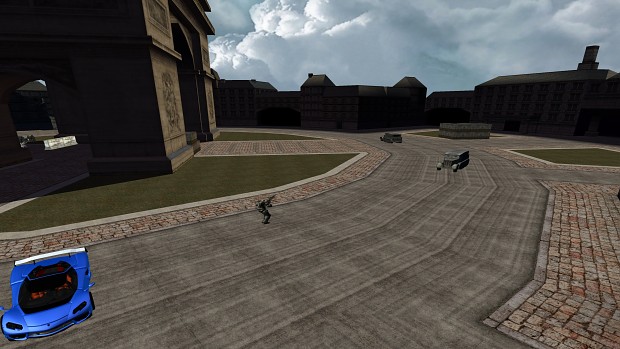
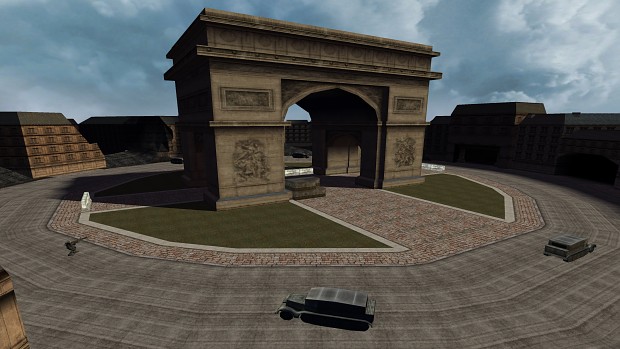
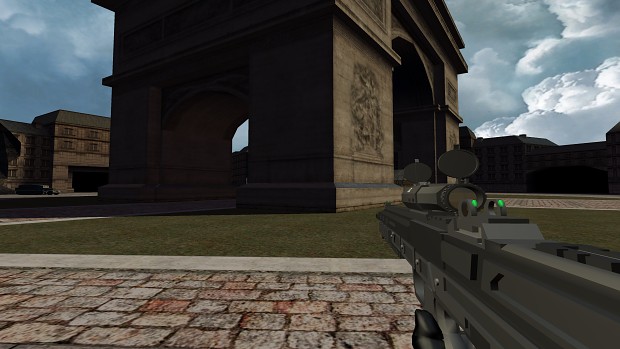
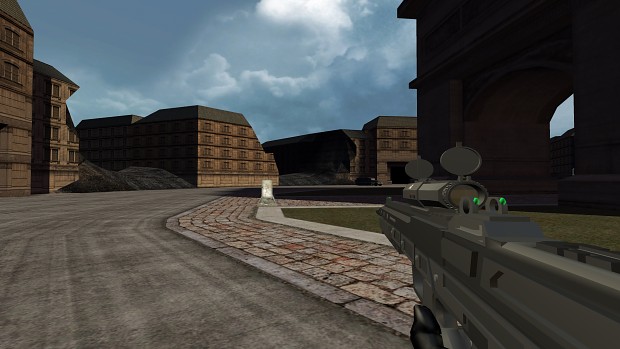
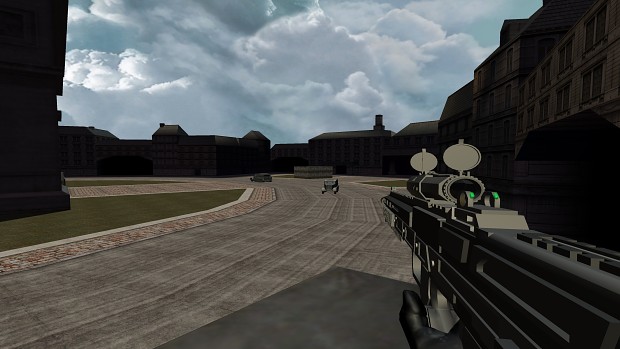
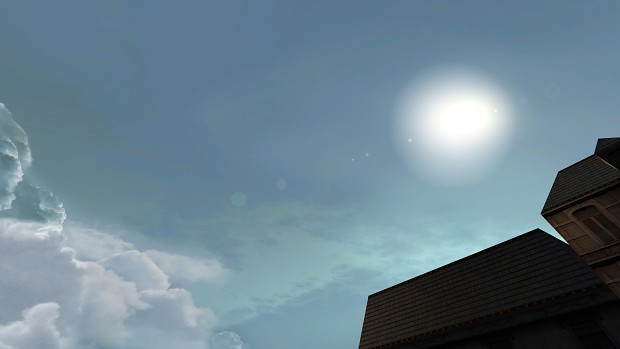
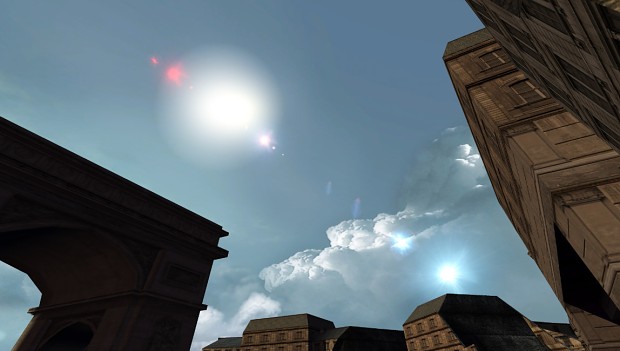
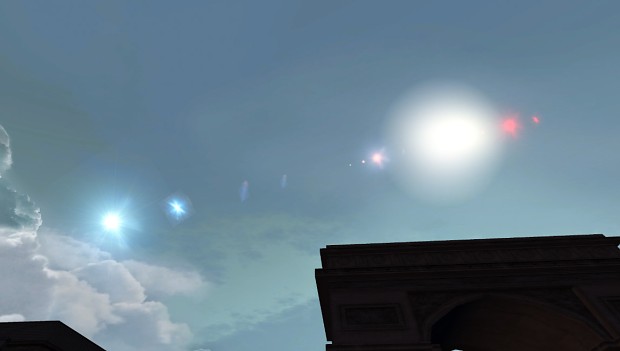
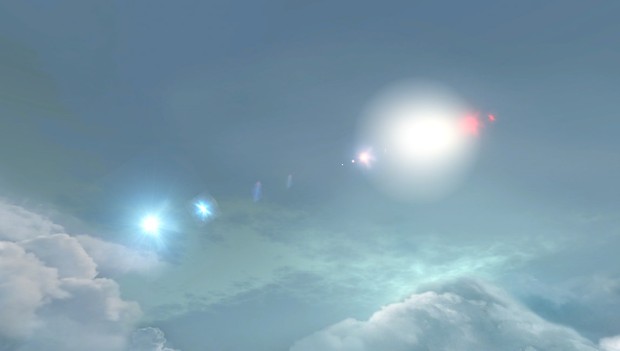
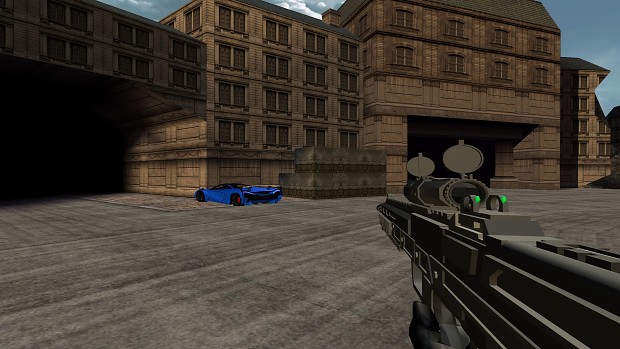
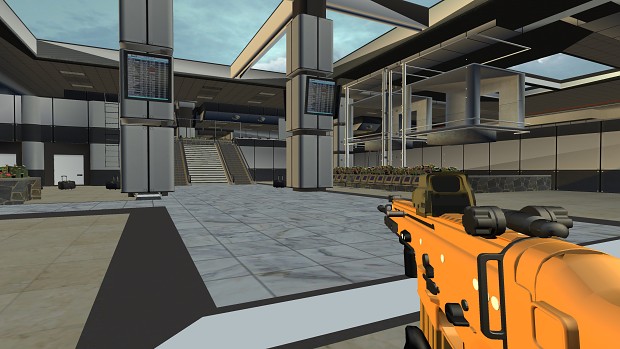
Today, we embark on an exciting journey to recreate one of the most iconic multiplayer maps in gaming history: Terminal from Call of Duty: Modern Warfare 2. My goal is to rebuild the map from scratch in the Cyclone Game Engine using the XNA framework and MonoGame, alongside a couple of powerful tools that will enhance our development process. I started the day by studying the original map's layout, textures, and gameplay mechanics. Immersing myself in the details of Terminal, I carefully analyzed the paths, chokepoints, and strategic areas that made the map so memorable. Armed with this knowledge, I brainstormed ideas on how to translate those elements into the engine, ensuring I captured the essence of the original map while also infusing some of my own creative touches.
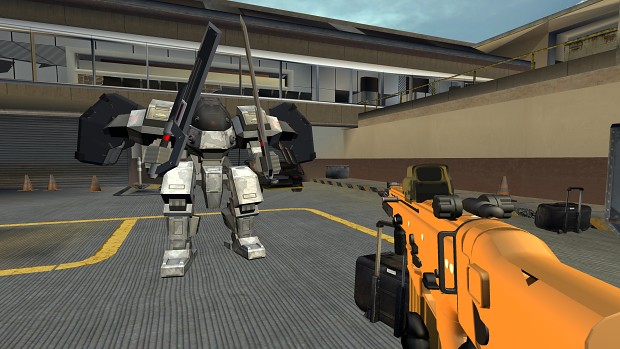
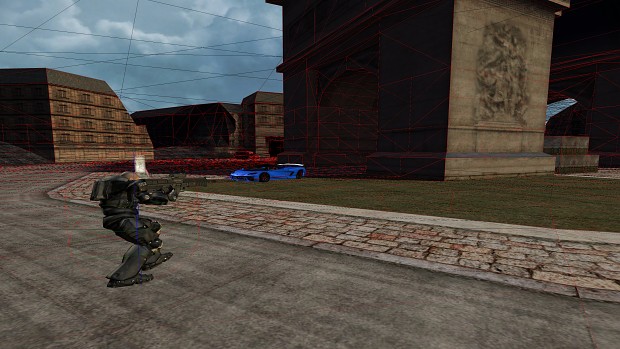
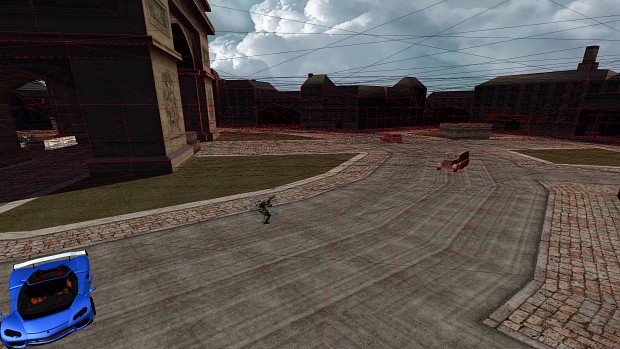
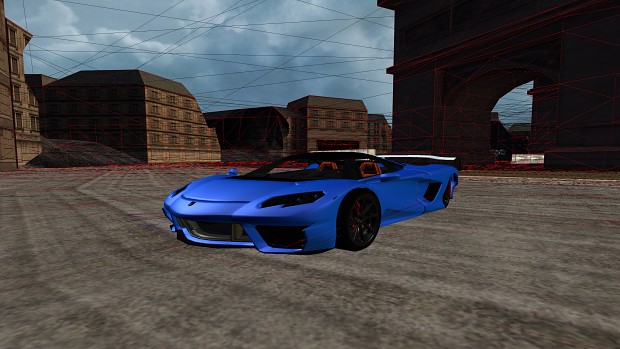
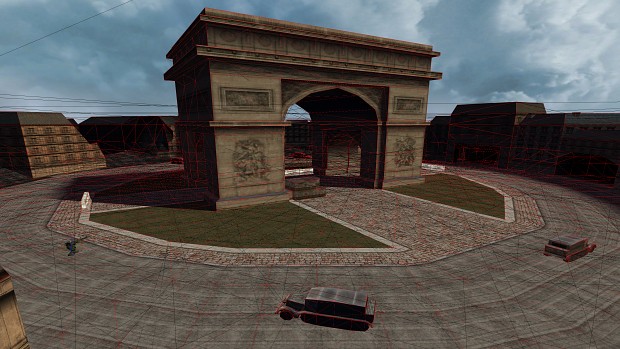
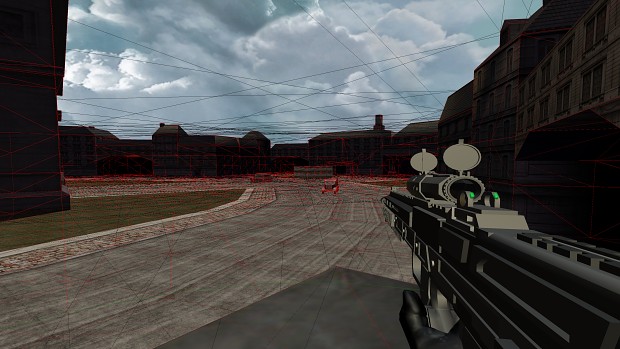
To bring life to our character, I turned to Mixamo, a fantastic tool for character animation. With Mixamo, I was able to access a vast library of pre-made character animations and easily apply them to my in-game model. This saved me a tremendous amount of time and effort, allowing me to focus more on other aspects of the game development process. Jiggle Library-X (JigLibX) is utilized for the physics. Models from the scene are being extracted and and tested for collision.
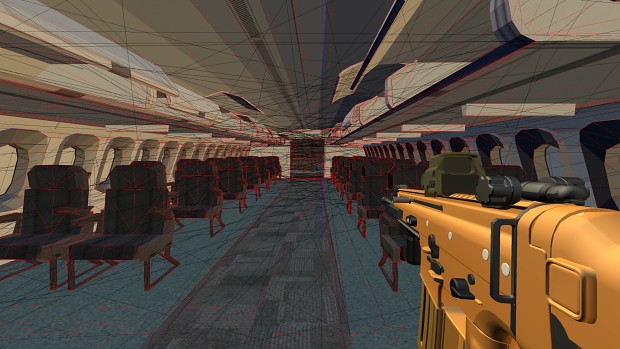
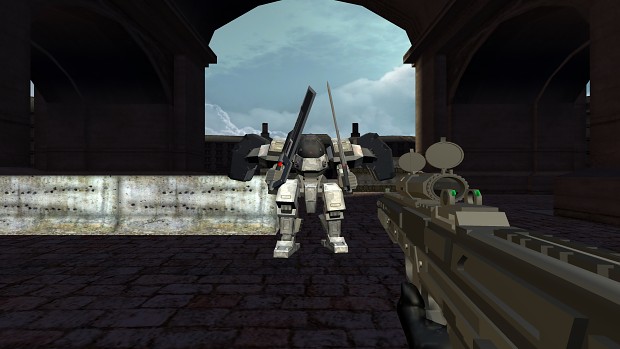
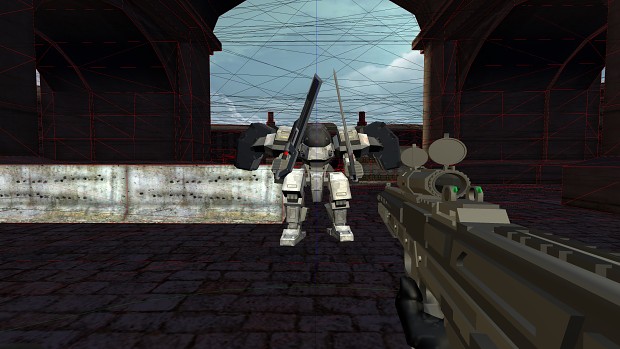
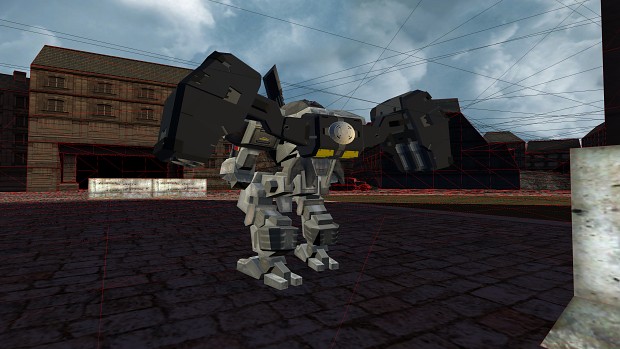
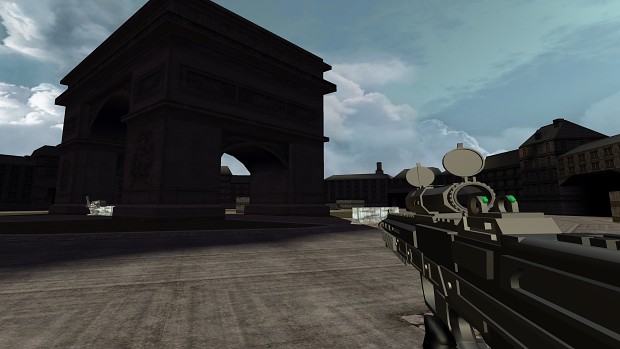
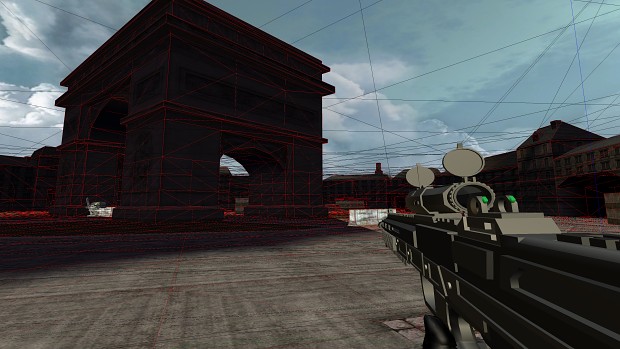
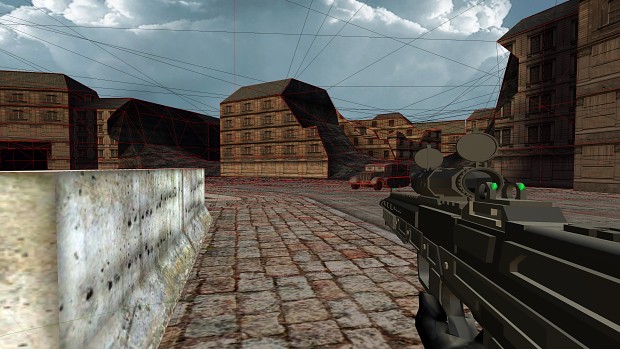
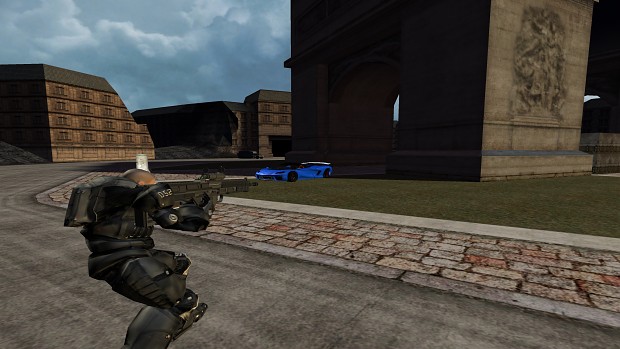
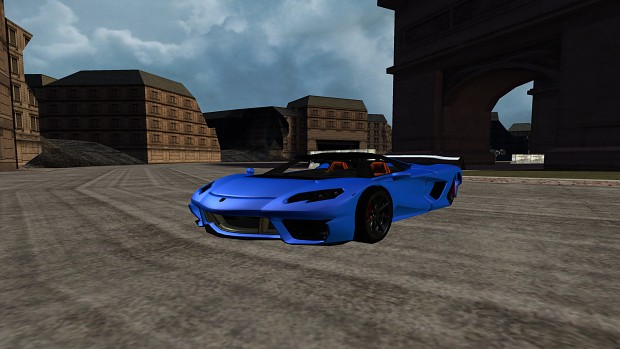
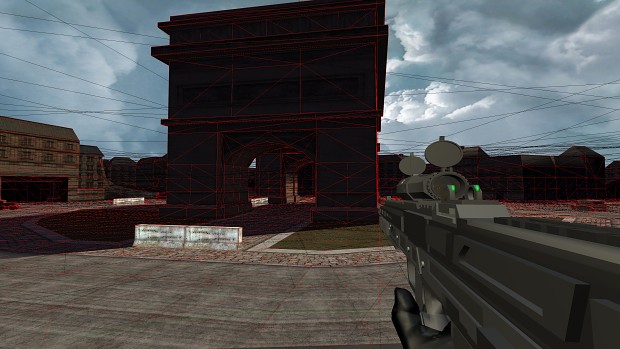
One of the biggest challenges is performance for the physics on more detailed models like in this picture above which also resulted in slowing the game's frame-rate. To fix this, I will most likely create two models; a low poly and high poly version. Low-poly models will be rendered unseen and most likely used for the models' collision physics to help with performance. The high-poly models with more detailed meshes will be visible for more pleasing visual aesthetics.In addition to leveraging Mixamo for character animation and Jiggle Library-X for physics, I also incorporated another powerful tool into our development arsenal: the XNAnimation library originally created by Bruno Evangelista. The XNAnimation library provided us with an extensive set of tools and functionalities to handle character animation within the XNA framework. This library enabled me to import and manage complex skeletal animations seamlessly. With XNAnimation, I could rig and animate our character model, ensuring fluid and realistic movements.
One of the standout features of the XNAnimation library was its support for skeletal animation blending. This allowed me to smoothly transition between different animations, such as running, jumping, and shooting, providing a seamless and immersive experience for the players. However, animation blending is not presented in this following video. I was able to define animation states, set up animation trees, and control the blending parameters to achieve the desired results. Furthermore, the XNAnimation library offered a range of utilities for retargeting animations, which proved invaluable during my development process. I was able to transfer animations from one character model to another with varying skeletal structures, saving significant time and effort in adapting animations to different characters or variations within our game.
Bone Rotation Problem
During the development process, I encountered various challenges related to character animation and camera interactions. While Mixamo proved to be a reliable tool for basic animations like walking and running, we realized that we needed additional techniques to achieve more complex actions and enhance the overall player experience. For instance, as you can see in this video, we need to address the issue of the bone moving with the camera rotation, particularly when looking up and down or aiming at a target from different positions.
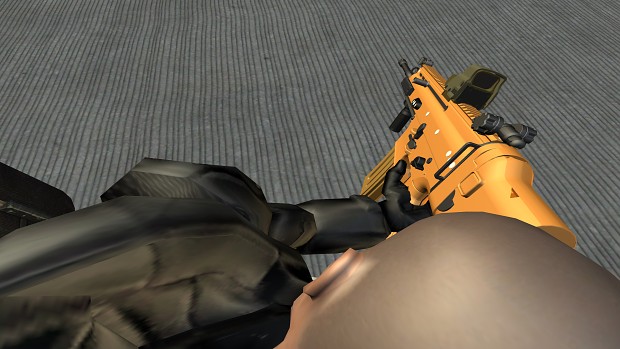
To fix this, I will turn to procedural animation and inverse kinematics. These techniques will allow us to dynamically adjust the character's animations and limb positions based on the player's input or environmental factors. To further enhance the character's interaction with the environment, I most likely plan to incorporate inverse kinematics into my development process. Inverse kinematics will help to prevent the player from seeing the character's body when the bones of the model rotates in first-person perspective when looking up and down.
By implementing Inverse kinematics, this will enable us to precisely control the placement and movement of the character's limbs, making actions such as aiming at targets or reaching for objects appear more natural and lifelike. Whether it’s reaching for a weapon or interacting with an in-game object, an IK system in XNAnimation will help me to achieve a higher level of realism and interactivity in our games. Inverse kinematics allows us to calculate the positions and rotations of the character's joints dynamically, taking into account factors like the player's input or the position of the target in the game world.
To implement procedural animation, I leveraged the power of Maya, a widely-used 3D modeling and animation software. Using Maya, I exported the animated model from Mixamo and then customized the animation rigs to accommodate the specific camera interactions I desired. By fine-tuning the rigging and adjusting bone weights, this will ensure that the character's movements responds smoothly and realistically to the player's camera rotations.
Problem: Black Spots Appearing on Mesh Faces
Problem: Black Spots Appearing on Mesh Faces
 |
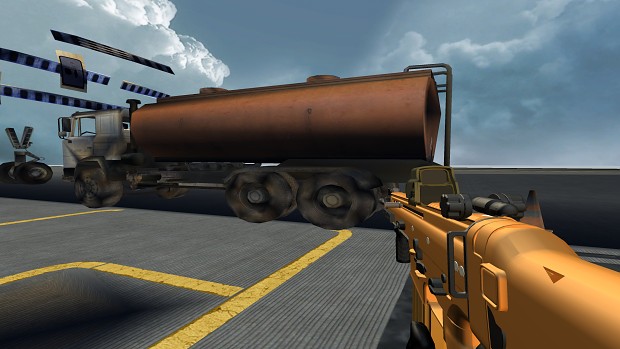
| Before: Dark Spots Problem Pic-1 |
 |
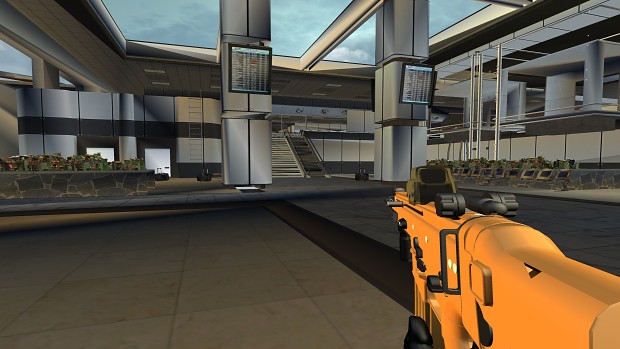
| Darks Spots Problem Pic-2 |
 |
| Dark Spots Problem Pic-3 |
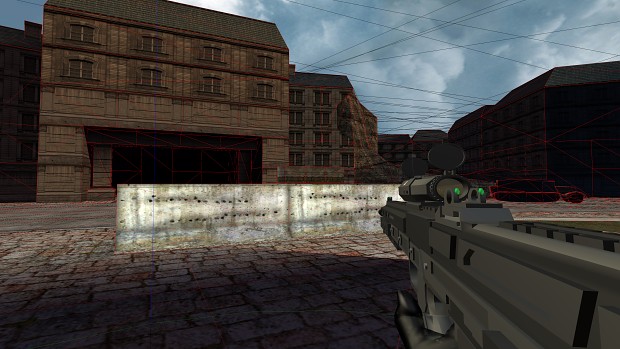
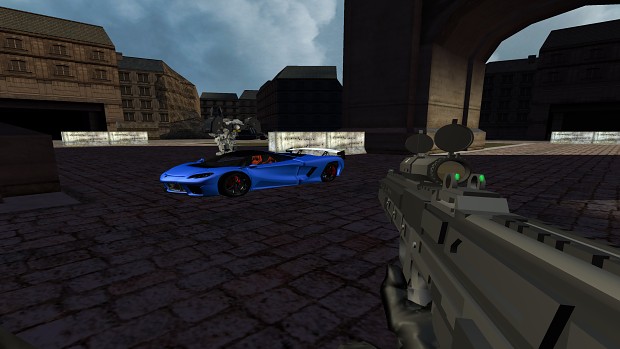
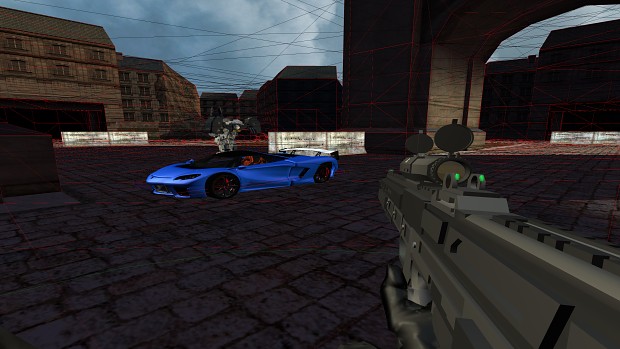
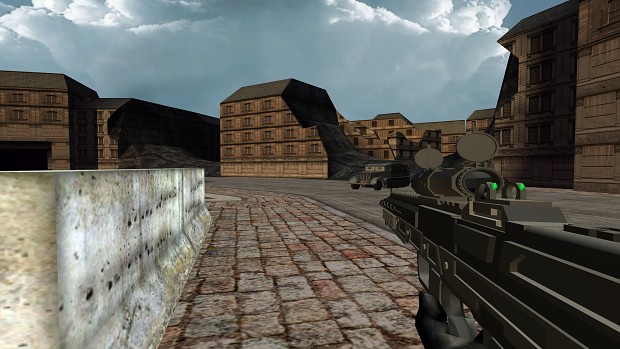
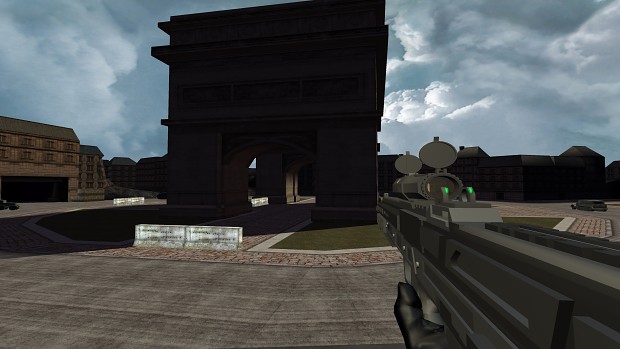
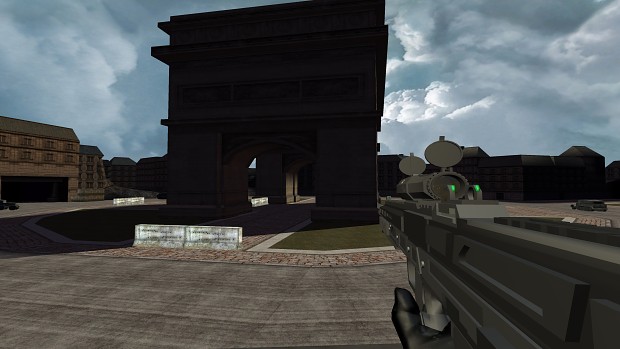
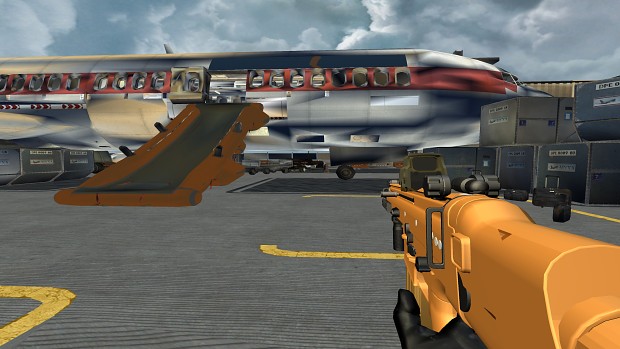
Many of the models were created using SketchUp. When imported into Maya as a .fbx file, I noticed many dark spots appearing on the faces for some reason on the models. First I tried clearing the mesh and nothing changed. Changing the texture didn't solve the problem either. Then I tried deleting a face and appending a new face at the same place which worked and made the black spots disappear. However, this was time consuming to fix all the faces by hand especially on very detailed models. The best solution was to unlock the normals of the model which removed all of the dark spots.
Solution: Unlock Normals
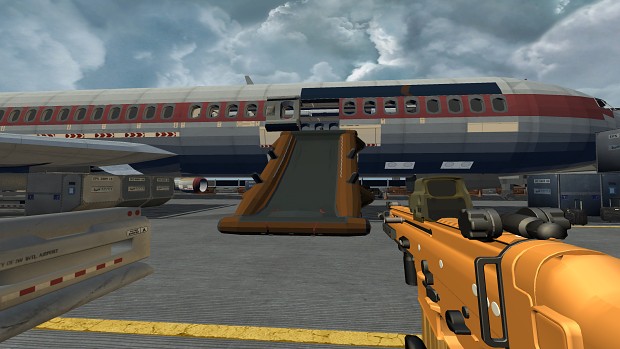 |
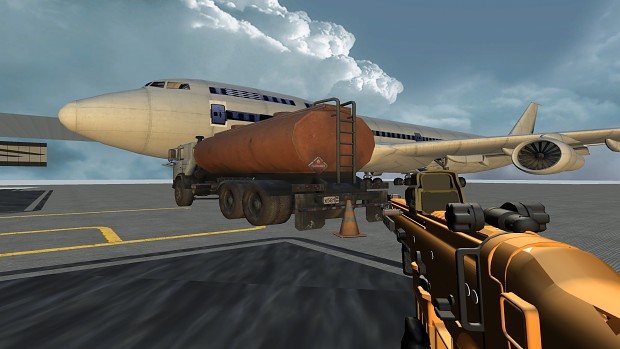
| After: Dark Spots Successfully Removed |
 |
| Dark Spots Removed Pic-2 |
 |
| Dark Spots Removed Pic-3 |
In Autodesk Maya 2015, click on Normals at the top and select Unlock Normals. This helped to remove the dark spots on the models and made the textures far clearer and improved their visibility. To verify that the normals are unlocked:
1.) Go to Display
2.) Select Polygons
3.) Then select Vertex Normals.
Normals should show a green line when unlocked and yellow when locked. Leave them unlocked. You can see the results of the removed dark spots in the video below. Some of the textures still pop-in and out so they will have to be resized.
1.) Go to Display
2.) Select Polygons
3.) Then select Vertex Normals.
Normals should show a green line when unlocked and yellow when locked. Leave them unlocked. You can see the results of the removed dark spots in the video below. Some of the textures still pop-in and out so they will have to be resized.
Please note that the gameplay footage showcased in the videos above are very early stages of development and should not be considered representative of the final product. We want to emphasize that significant progress and improvements are yet to come, as we continue to refine and polish the game. During this early phase, our main focus was on establishing the core mechanics and functionality of the game. The level design, character animations, textures, and overall visual quality are all subject to change and refinement in the upcoming stages of development. We understand that the current gameplay footage may lack certain features, exhibit placeholder assets, or have performance issues that will be addressed in due course.
It is crucial to keep in mind that this is just a glimpse into our development process and a work in progress. We remain committed to delivering a high-quality and enjoyable gaming experience. As we progress further, we will be implementing additional features, enhancing the visuals, optimizing performance, and addressing any issues that may arise along the way. We appreciate your support and understanding as we continue to work tirelessly to bring you the best possible version of our game. Stay tuned for future updates and be assured that the final product will be a significant improvement over this early footage.
It is crucial to keep in mind that this is just a glimpse into our development process and a work in progress. We remain committed to delivering a high-quality and enjoyable gaming experience. As we progress further, we will be implementing additional features, enhancing the visuals, optimizing performance, and addressing any issues that may arise along the way. We appreciate your support and understanding as we continue to work tirelessly to bring you the best possible version of our game. Stay tuned for future updates and be assured that the final product will be a significant improvement over this early footage.